How to Set-Up a Meta Business Suite Account?

Awesome Social
Published on:
April 23 , 2022
·7 min read

Are you promoting your business via Facebook ads? If yes, you need a meta business suite account. The Facebook Business Manager or Meta Business Suite is a fantastic platform to serve your business' promotional and management needs. Setting an account on it can assist you in varied ways.
The article will discuss all the vital aspects of successfully creating an Facebook manager account. By referring to the guidelines, your process will become much simpler, and you will also be able to use your manager accounts more efficiently. However, before getting straight into the details, let's understand a few differences.
Meta Business Suite Vs. Facebook Ads Manager
First, identifying the distinction between these two is essential. Often individuals consider the two tools the same. But, it is far from the truth. Thus, know this major distinction before creating an account on the Facebook page manager.
To commence, let's understand Ads Manager. Marketers are pretty familiar with this tool. To simplify the explanation, the Ads Manager assists you in creating ads, audiences, and campaigns.
The meta business suite is somewhat different. Using this tool, you can manage your entire business and link it with the ad campaigns. The tool also gives access to your Facebook and Instagram accounts linked to your business in one place. Moreover, it also makes interacting and connecting with clients much simpler.
The meta business suite is a vast service. It is a central hub that takes care of all your business management needs and assists you well in all processes. Here, you can easily connect ads, payments, and pixels; and manage them simultaneously.
Every firm must have a configured meta business suite account to operate well. Setting an account on it is quite simple. All you necessitate is the right steps and guidelines.
Related Topics:
Steps to Create a Meta Business Suite Account
Click on http://business.facebook.com/ and then select the 'Create Account' option. Next, you might have to add your login details if you have not added them already.
Now, tap on the Create Business button to access the business manager account window.
Here, fill in all the vital details and select Submit to proceed.
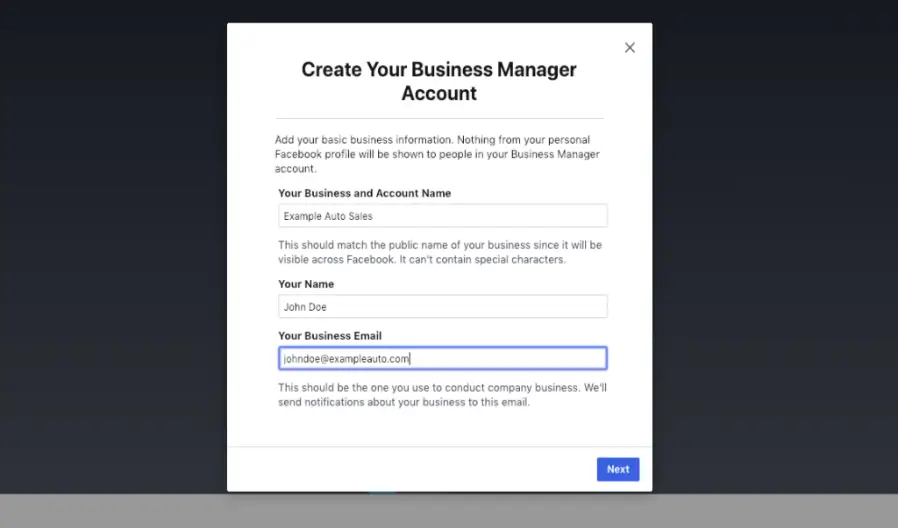
After tapping on Submit, Facebook will demand an email verification process. So, navigate to your mailbox and look for the verification email to complete the procedure.
By simply using these basic steps, you have completed your account setup. However, this is not the end. You need to finish a few more procedures to complete the setup appropriately.
Thus, read on and complete the other setups to finish the task successfully. Next, we will assist you in connecting and linking different pages on your Facebook manager account.
Linking Pages
One of the primary perks of using the Business Manager account is access to centralized control and record of multiple Facebook-related business accounts. You can easily link or connect your Facebook Page, official Instagram account, WhatsApp, and other similar applications. Yes! You are reading it right. You can manage all of these in one place without any confusion. Keep reading to know-how.
Add Social Media Pages
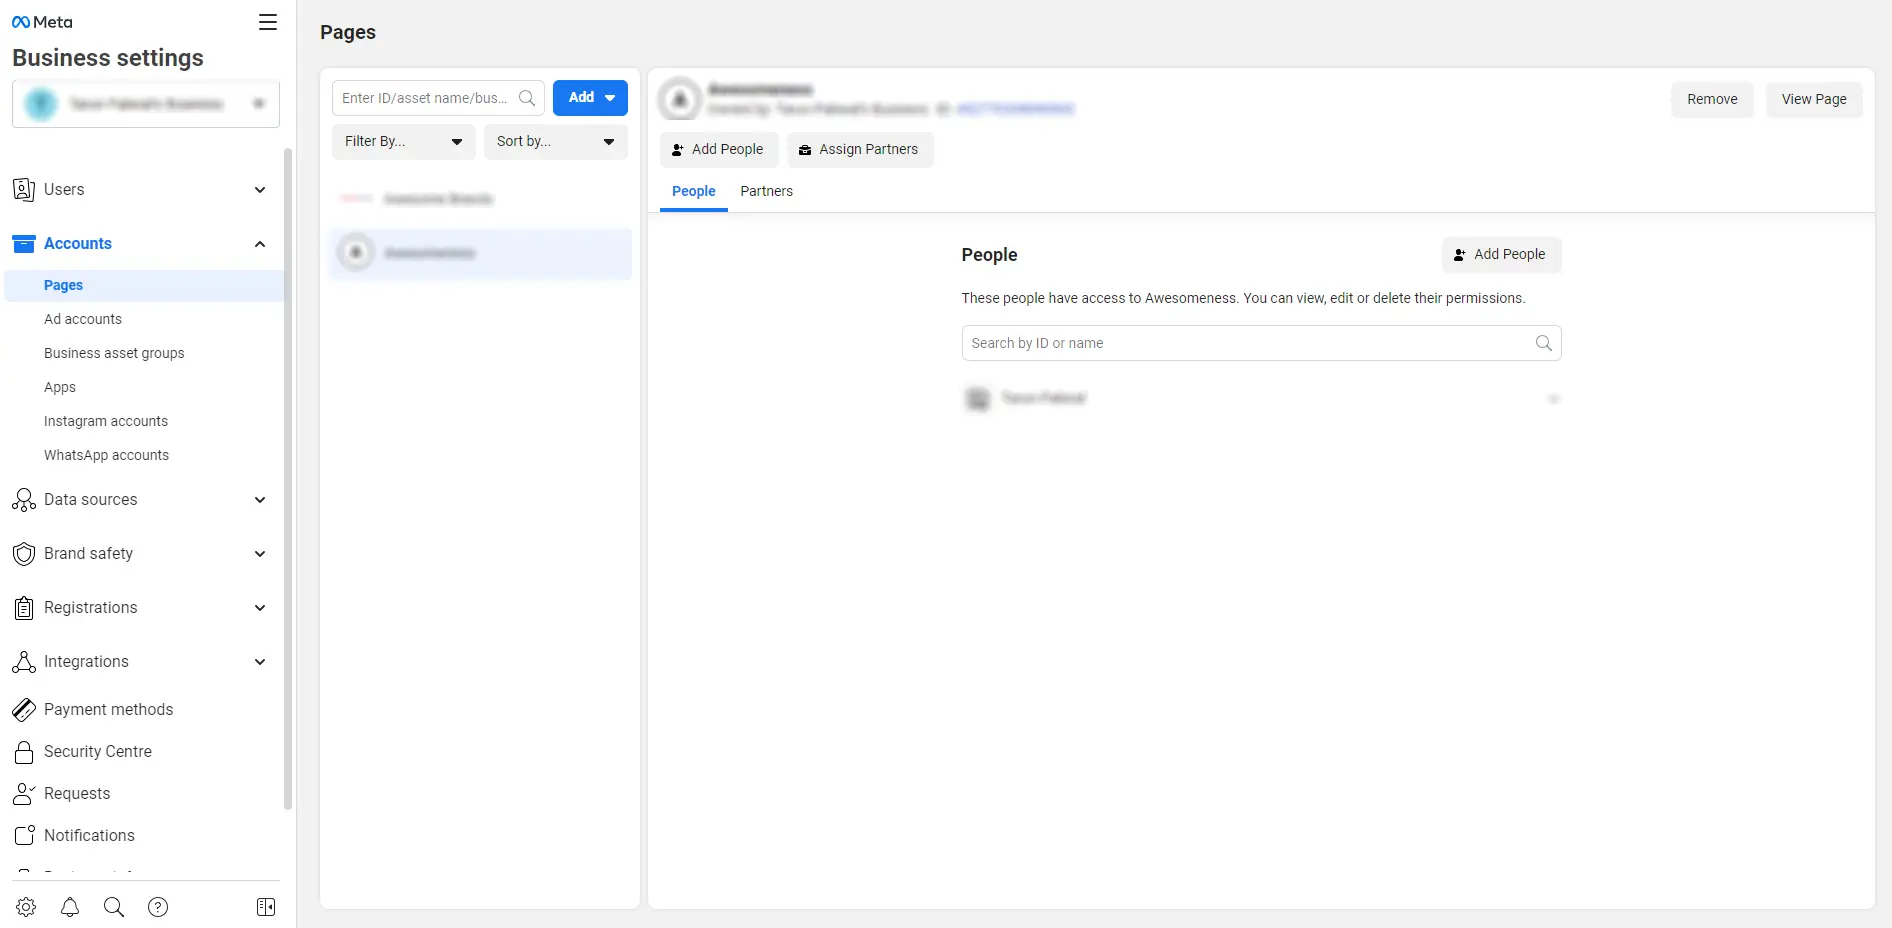
The simplest task is adding a social media page to your business manager account. To get started, navigate to Business Settings. You will find this option in the dot menu located in the top right corner bar.
To add Facebook pages, select the Pages option, then tap on Add. The manager will display three options here: Create New Page, Request Access to Page, and Add as Page. All you must do is tap on Add to display these options.
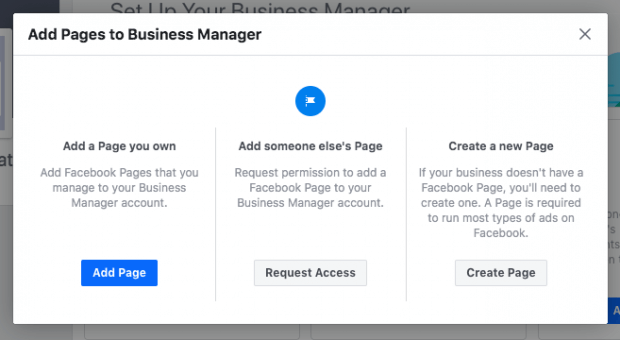
If you are the sole proprietor of the page you wish to add, select the Add a Page option. However, this option will only work if no other business account has accessed the page in the past.
If you are an agency or a freelancer, select the Request to Access Page option to proceed. Requesting access is a must to give your clients some permits and manage the accounts within their control.
Lastly, select the 'Create a New Page' option if your firm does not own a business page yet. To advertise on Facebook, you necessitate a page, and thus creating one is very important before proceeding.

Link the Meta Business Suite to Ad Accounts
If you have completed the above procedures easily, do not worry about the rest. Linking the Ads account is almost as simple as them. All you necessitate is the right assistance.
Thus, select the Ad Accounts option, and tap on Add to access similar options, i.e., create an account, Request access, or add account. To cut short, the steps and instructions for this section are similar to that of linking pages. Thus, follow similar instructs, and select Add Account after completing the procedure.
After finishing with the above steps, the next is to enter the Ad account ID. If you do not own the page, you will gain access to it when you request a permit to add the ad account.
Where can you locate the Ad Account ID? The simplest method is to navigate to the Ads Manager account and look for the digits in the URL. You can also access its options following your account name in the top menu bar.
After successfully locating it, add the ID to the Facebook Business Suite account and tap on Add Ad Account option. Easy isn't it?
How Does Facebook Access Work?
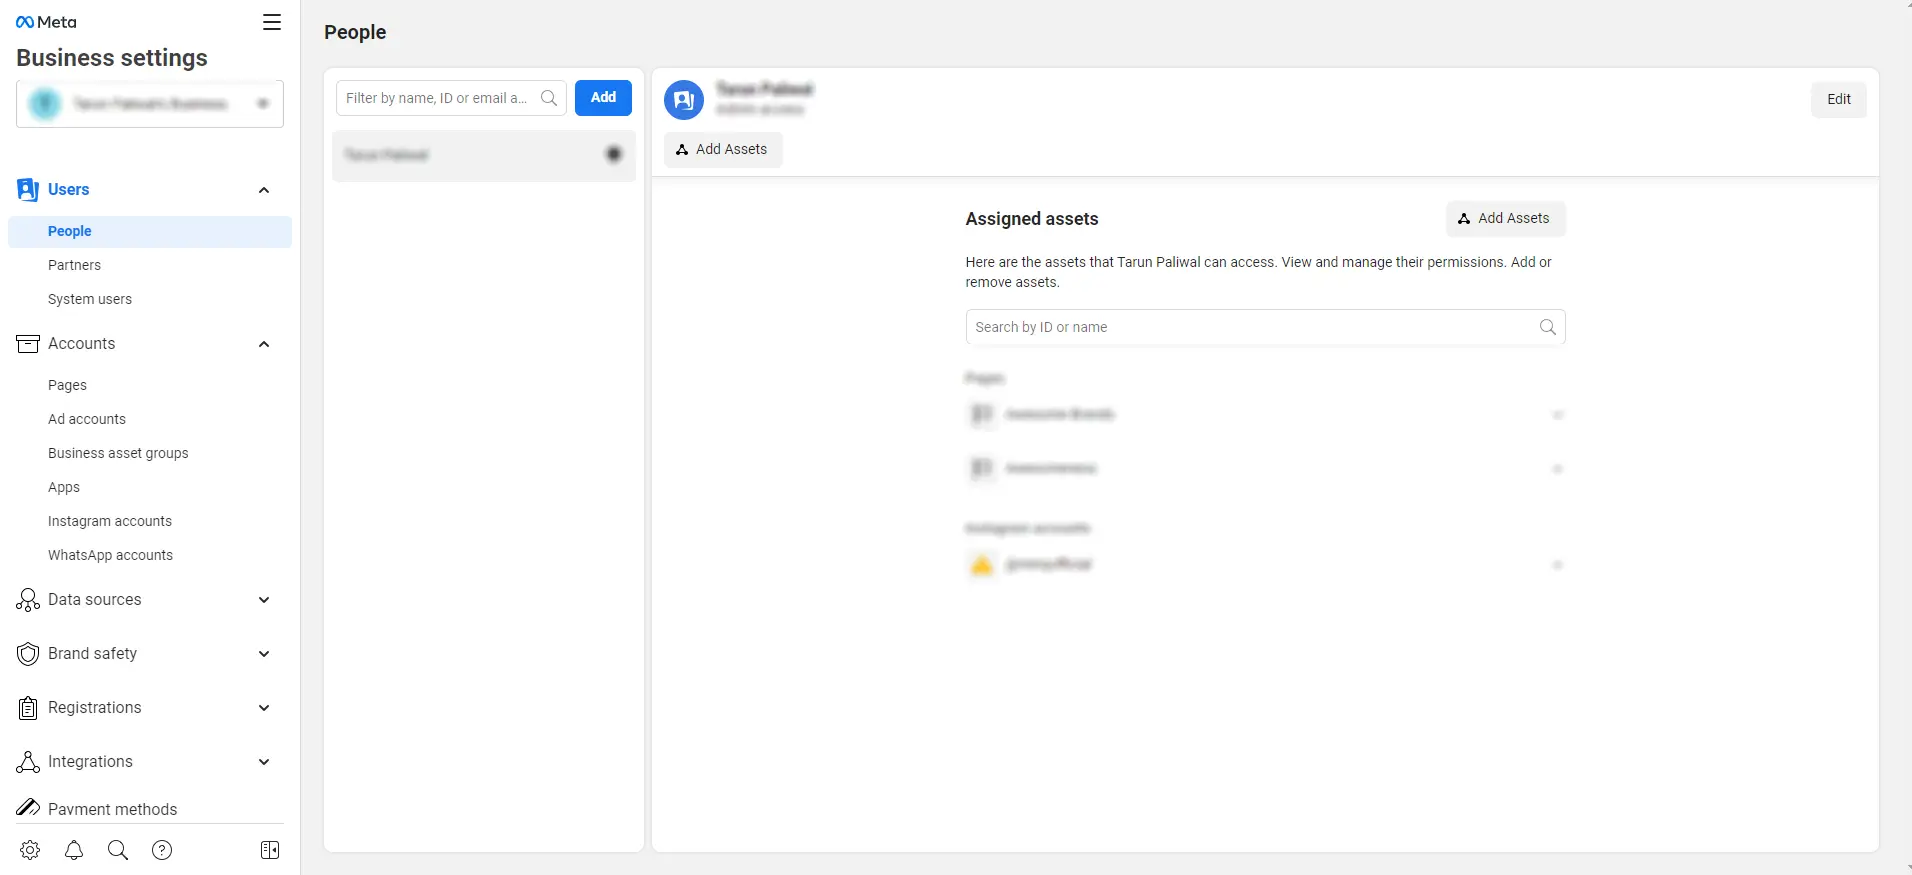
Another vital aspect to note is: that after creating a Meta Business Suite account, you have to add yourself as a user to the pages you have connected.
According to the tool, your firm owns the account and not you. The Facebook manager account is entirely different from your personal account. Thus, you will not be able to make any amends on it till you do not add yourself as a user.
For instance:
Open your Meta Business Suite account, navigate to Ad Accounts, and select your Facebook Ads account.
Here, you can set up permits and control access for other users and yourself. So, when you create a Business Manager account for the first time, ensure you add yourself to gain control access.
Select a profile, and then turn the Manage Ad Account option on. Doing so will give you complete access and control to operate the account freely. Thus, note that adding yourself despite being the owner is mandatory.
The Facebook manager assists you greatly in adding users and setting permissions. You can appoint different levels of permits and controls for every employee per your liking. Further, view-only access permissions are also available.
Also, giving users a permit to the Ad accounts to work on ads, campaigns, and other aspects. The Business Manager account is completely different from your Ads account. So, ensure you complete all user permits (including yourselves) perfectly. However, also note the pros and cons of the business suite to understand its use well.
Adding Payment Info
As we know, the finest aspect of using a Facebook manager account is managing all your tasks from a single place. The feature is also extended for billing and other payment-related processes.
Thus, to add your payment details to the Business Manager, first begin by navigating to Business Info. Fill in all the necessary Business Details in this section to proceed.
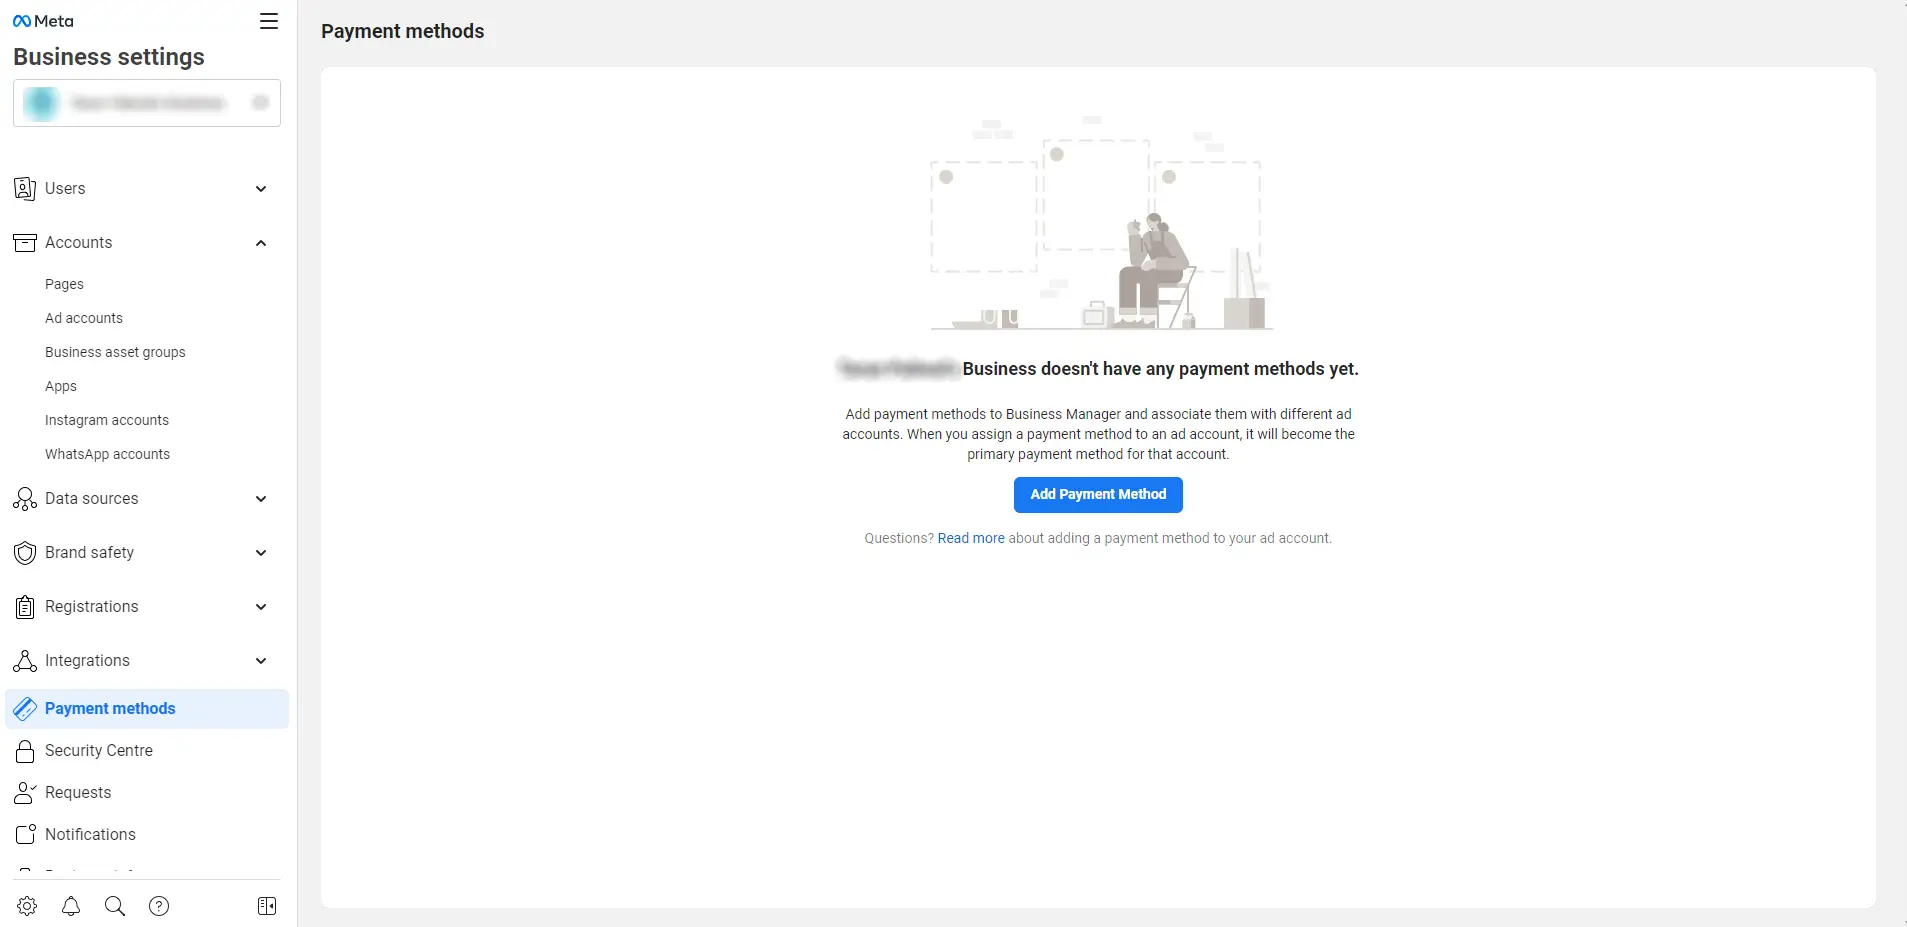
After completing the Business Information, navigate to the Payment Method option and tap on Add Payment Method.
Here, you can add cards and other payment options to complete all Facebook Business transactions. Also, you can complete other future purchases with complete ease by using this facility.
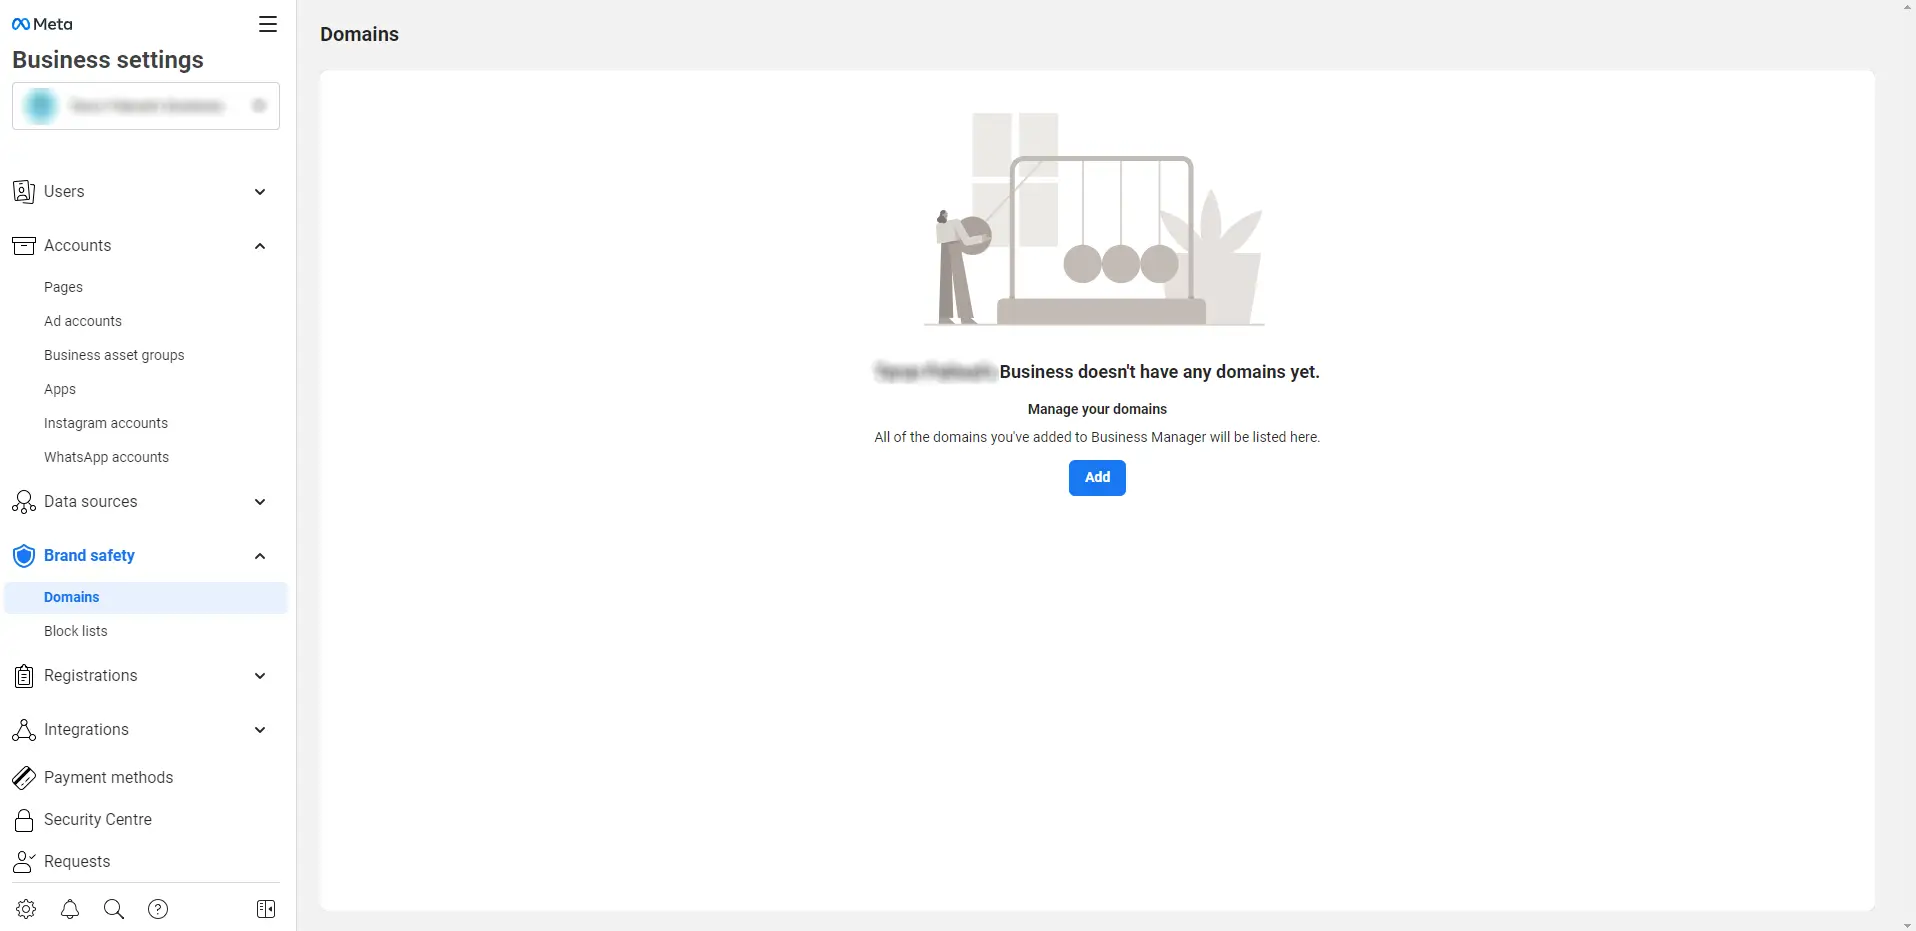
Verify Your Domain
Lastly, finish the setup by configuring the Business Suite Facebook account by verifying your domain.
To complete it, select the Brand Safety option, navigate to Domains, and tap on Add.
Here enter your website domain details and select Add to proceed. After this, refresh your page to add the domain successfully.
Next is verifying the domain. You can use three varied ways to verify the domain:
· Meta-tag
· DNS
· HTML File Upload
We recommend using the DNS verification process as it's the simplest. So, to proceed, tap on the option.
After this, log in to the domain registrar. Next, go to DNS records to copy and paste the TXT record into your DNS to proceed further.
DNS takes about 48 hours to become effective. However, Facebook suggests it might also take up to 72 hours. After the change is done, the circle next to your domain name will turn green and notify you about the verification.
Setting-Up a Meta Business Suite Account In Summary
Creating a Facebook Manager account is not enough. You need to complete the other procedures to finish the process perfectly. You must have completely gained a clear idea about setting up a business manager account now. Also, see how to hide comments, delete facebook pages, Schedule video posts, and create link preview to make the most use of your manager account. Grabbing all details will assist your business the best. Thus, make effective use of this beneficial tool to boost success and profits in no time.